In 2017, metal comprised about 12 percent of all recycled waste in the US. Although this isn’t a bad figure, there’s always room for improvement. After all, less energy is needed to produce metal from recycling compared to extracting it from a fresh metal ore. Moreover, by saving metal, we reduce the amount of waste headed to the landfill and decrease the demand for quarries and mines.
While big corporations have a social responsibility to recycle their metal waste (they generate huge amounts of metal wastes), households can do their part. It may seem small, but the collective action of all households in the country would amount to a significant reduction in metal waste—enough to match the effects of commercial compactors and large-scale recycling facilities.
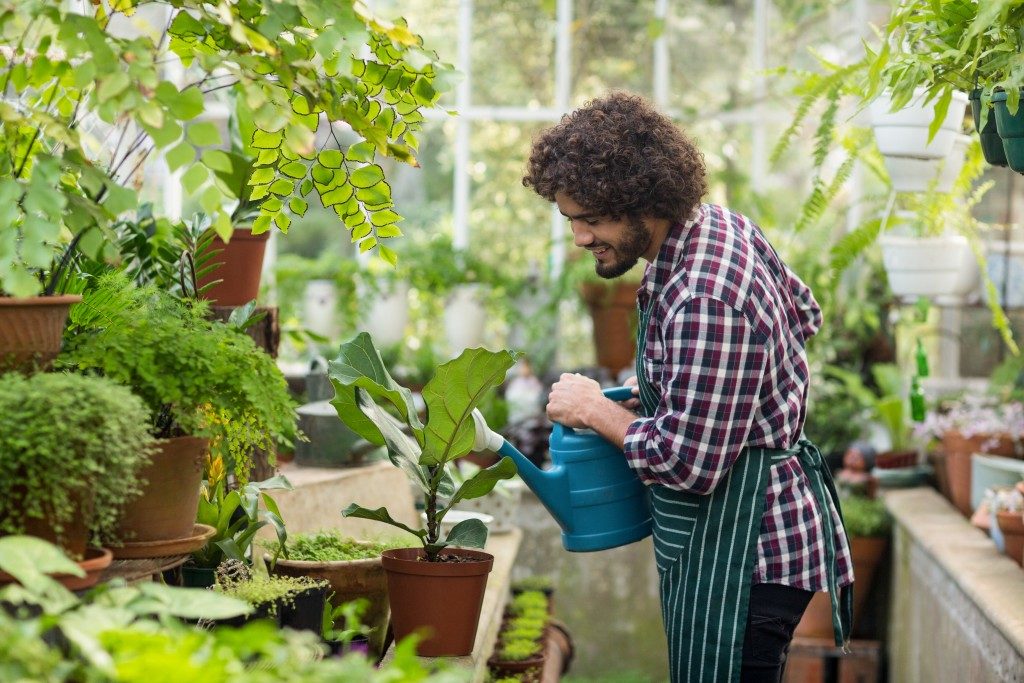
Small efforts go a long way. Tin can gardening, for instance, is a smart way to save your metal cans.
What Is Tin Can Gardening?
Tin can gardening is as easy as it sounds. The gardeners use old tin cans as an alternative for hanging pots. Take note that people still call aluminum cans “tin cans” because the cans from a few decades ago were made entirely of tin. Although it’s called tin can gardening, cans made of aluminum are recommended. Gardeners fill them with soil, plant seeds, and place them in a sunlight-rich part of the house. In a few weeks, they have a flourishing garden.
You can choose different kinds of plants for this project. Succulents and cacti are ideal because they only require sandy soil and low levels of water—an environment that’s easily achieved in a metal container. But you can also use popular herbs such as sweet basil, parsley, chives, rosemary, thyme, coriander, and oregano. Small flowers, like periwinkle, are great choices, as well.
 How to Start Your Tin Can Garden
Use big cans to ensure the roots of the plant have enough room to grow and breathe. Think canned tomatoes and tomato soup. Make sure there are no ragged edges that could cut your fingers. Choose your design, too—do you want a hanging garden or a simple tabletop garden?
Drill drainage holes into the cans; if you don’t have a drill, use a hammer and nail to punch holes on the bottom. Drill or punch from the outside so that the sharp edges are inside the can. Then, decorate them using paint, ribbons, colored paper, etc. If you want a rustic-looking garden, simply wrap the tins with rough-spun burlap. If you’re starting an herb garden, it’s helpful to add labels, so you won’t be confused when reaching out for the right little plant. If you’re hanging the cans, drill two holes along the rim of the can directly across one another and suspend the can from a chain, making sure the rope supports the weight of the soil and soon-to-be plants.
Fill the cans with potting soil mixture (make sure they’re appropriate for your little plants). Plant the seeds, then hang the cans or place them on their new home. Choose a spot with lots of sunshine. To help them grow abundantly, set up a watering schedule, and attentively add fertilization and pest control measures.
Imagine if everyone in your neighborhood invested in tin can gardening. Not only will this save a lot of metal cans, but it will also give them fresh herbs or pretty flowers in a matter of weeks. So, start saving your tin cans today!